I love the idea of a starburst wreath - love the ones with mirrors on the insides too. I've seen many renditions of using plain old sticks to make them and thought I would make one for a Fall accent. I started with a circle cut out of cardboard.
Next, I decided on how long I wanted the sticks to be and went out to the yard to gather them, breaking them into similar lengths. They obviously do not need to be the exact same size, the variety adds to the interest and is typical of a starburst anyway. I attached them with a hot glue gun. I used the backside of a cookie sheet to keep it stable and portable while it was drying.
I wanted some burlap flowers to go around the center and knew that Pinterest would not disappoint. I found this one at Crafting Moms. You can click the link to get the step-by-step directions which were easy to follow. I then used hot glue to glue them around the middle of the wreath which also served to hide the cardboard base.
And here is the finished product!
I love the warm and cozy look of burlap and I find this wreath very charming and quaint. Do you love burlap? Starburst decor? Have you combined them as well? Please share.
Friday, October 11, 2013
Friday, October 4, 2013
Mercury Glass Vase
Another garage sale find was this mercury glass vase. When I saw it, I scooped it up super quick!
It was also one dollar - ONE DOLLAR! Did I mention this was a fabulous garage sale? And to top it off, it was a benefit garage sale for adults with special needs! Since I HAVE an adult child with special needs, this was a definite win-win for me. I pictured it in the playroom on the shelf in the corner. I was thinking that it needed something with height in that spot. I then went to Hobby Lobby and picked up some fall flower stems - all of which were on sale! Now this spot is filled in perfectly.
And here's a shot from farther back in the room -
Yep - it works! I'm planning on switching out the flowers seasonally. I'm seeing Christmas flowers, then some wintery sparkly snowy branches, then some kind of spring mix. I'm loving this mercury glass and am thinking of trying some of the DIY ideas all over Pinterest on some of the votives, jars, and vases I have in my collection.
How about you? Are you loving mercury glass? Have you tried any of the DIY ideas to make your own? Let me know which method worked best for you!
It was also one dollar - ONE DOLLAR! Did I mention this was a fabulous garage sale? And to top it off, it was a benefit garage sale for adults with special needs! Since I HAVE an adult child with special needs, this was a definite win-win for me. I pictured it in the playroom on the shelf in the corner. I was thinking that it needed something with height in that spot. I then went to Hobby Lobby and picked up some fall flower stems - all of which were on sale! Now this spot is filled in perfectly.
And here's a shot from farther back in the room -
Yep - it works! I'm planning on switching out the flowers seasonally. I'm seeing Christmas flowers, then some wintery sparkly snowy branches, then some kind of spring mix. I'm loving this mercury glass and am thinking of trying some of the DIY ideas all over Pinterest on some of the votives, jars, and vases I have in my collection.
How about you? Are you loving mercury glass? Have you tried any of the DIY ideas to make your own? Let me know which method worked best for you!
Tuesday, October 1, 2013
Garage Sale Candle Sticks
I went to a great garage sale over the weekend and picked up a couple of fantastic deals. Here is the first one - a couple of chunky, wooden candle sticks for $1.00 each!
I love the detail on them -
I've always liked the idea of having black, chunky candle sticks with little pumpkins on top, so I sprayed them with Krylon black satin spray paint and viola!
I added a little green jar to the mix that I picked up from a thrift store for less than a dollar and filled it with some flowers. They sit on a little piece of burlap for a wonderful fall centerpiece. Just how I pictured it.
Happy Fall! Do you like black and oranges in the Fall or do you like more non-traditional colors? Stay tuned for another garage sale find!
I love the detail on them -
I've always liked the idea of having black, chunky candle sticks with little pumpkins on top, so I sprayed them with Krylon black satin spray paint and viola!
I added a little green jar to the mix that I picked up from a thrift store for less than a dollar and filled it with some flowers. They sit on a little piece of burlap for a wonderful fall centerpiece. Just how I pictured it.
Happy Fall! Do you like black and oranges in the Fall or do you like more non-traditional colors? Stay tuned for another garage sale find!
Saturday, September 28, 2013
Let it Rain!
So last week, my grand-daughter got married!
Aren't they cute? It was forecasted to rain that day, so we planned ahead to capture some rain water as a memento. I've seen lots of ideas on Pinterest, but finally decided to just go to Hobby Lobby and pick up a small decorative jar and some wedding embellishments. Here is the final product:
The jar has a rubber seal and I added a bead of super glue around it to make sure it stays for many years to come. Now it sits on a shelf as part of their wedding display. It turned out pretty cute! Did it rain on your wedding day? Did you save the rain? So fun!
Aren't they cute? It was forecasted to rain that day, so we planned ahead to capture some rain water as a memento. I've seen lots of ideas on Pinterest, but finally decided to just go to Hobby Lobby and pick up a small decorative jar and some wedding embellishments. Here is the final product:
The jar has a rubber seal and I added a bead of super glue around it to make sure it stays for many years to come. Now it sits on a shelf as part of their wedding display. It turned out pretty cute! Did it rain on your wedding day? Did you save the rain? So fun!
Thursday, September 19, 2013
A Little Bit of Sunshine in the Playroom!
I wanted to make a wooden sign for over the bed in the playroom. I wanted something that would be kind of large to make a big impact/statement in the room. I decided on the saying "you are my sunshine". My mom used to sing me that song when I was a little girl and most of my grandkids never got to know her because she passed away. It was a way for me to bring her and the grandkids together somehow. I started with some fence boards. I like them because they have the rustic-ness of pallet wood but without the hassle of all the nails and such. I used a circular saw to cut them to size.
Next, I needed a way to attach the boards to each other. I found some metal bracket thingies at Ace Hardware that did the trick. I just used my drill to screw them together. They are not perfectly sized and it didn't matter to me - I like it that way actually.
Next, I gave it a couple of coats of primer and a couple of coats of white spray paint. I used some chalk to lightly paint the "sun" in the corner and then filled it in with yellow craft paint.
I used a letter stencil and some teal craft paint to add the words "You Are My Sunshine".
In the bottom left corner, I used an orange paint pen to dedicate the sign to my mom by simply adding "heart Grammie".
Then I distressed it some to make it look older and added some ring hangers to the back side for hanging.
Next came actually hanging it on the wall. I used a method I've seen all over Pinterest whereby you take a piece of painters tape and lay it on your project, mark where the holes need to go, put the tape on the wall where you can easily measure and level it and then just drill your holes right through the painter's tape. Genius. Here it is hanging on the wall. It turned out perfect.
And here's a wider view of the room - it's coming along!
Have you used fence boards? Pallet boards? Which do you prefer? I have a few more projects left on my list in this room before I call it done, but I am pleased with it 's progress!
Next, I needed a way to attach the boards to each other. I found some metal bracket thingies at Ace Hardware that did the trick. I just used my drill to screw them together. They are not perfectly sized and it didn't matter to me - I like it that way actually.
Next, I gave it a couple of coats of primer and a couple of coats of white spray paint. I used some chalk to lightly paint the "sun" in the corner and then filled it in with yellow craft paint.
I used a letter stencil and some teal craft paint to add the words "You Are My Sunshine".
In the bottom left corner, I used an orange paint pen to dedicate the sign to my mom by simply adding "heart Grammie".
Then I distressed it some to make it look older and added some ring hangers to the back side for hanging.
Next came actually hanging it on the wall. I used a method I've seen all over Pinterest whereby you take a piece of painters tape and lay it on your project, mark where the holes need to go, put the tape on the wall where you can easily measure and level it and then just drill your holes right through the painter's tape. Genius. Here it is hanging on the wall. It turned out perfect.
And here's a wider view of the room - it's coming along!
Have you used fence boards? Pallet boards? Which do you prefer? I have a few more projects left on my list in this room before I call it done, but I am pleased with it 's progress!
Saturday, September 7, 2013
Chalkboard Label
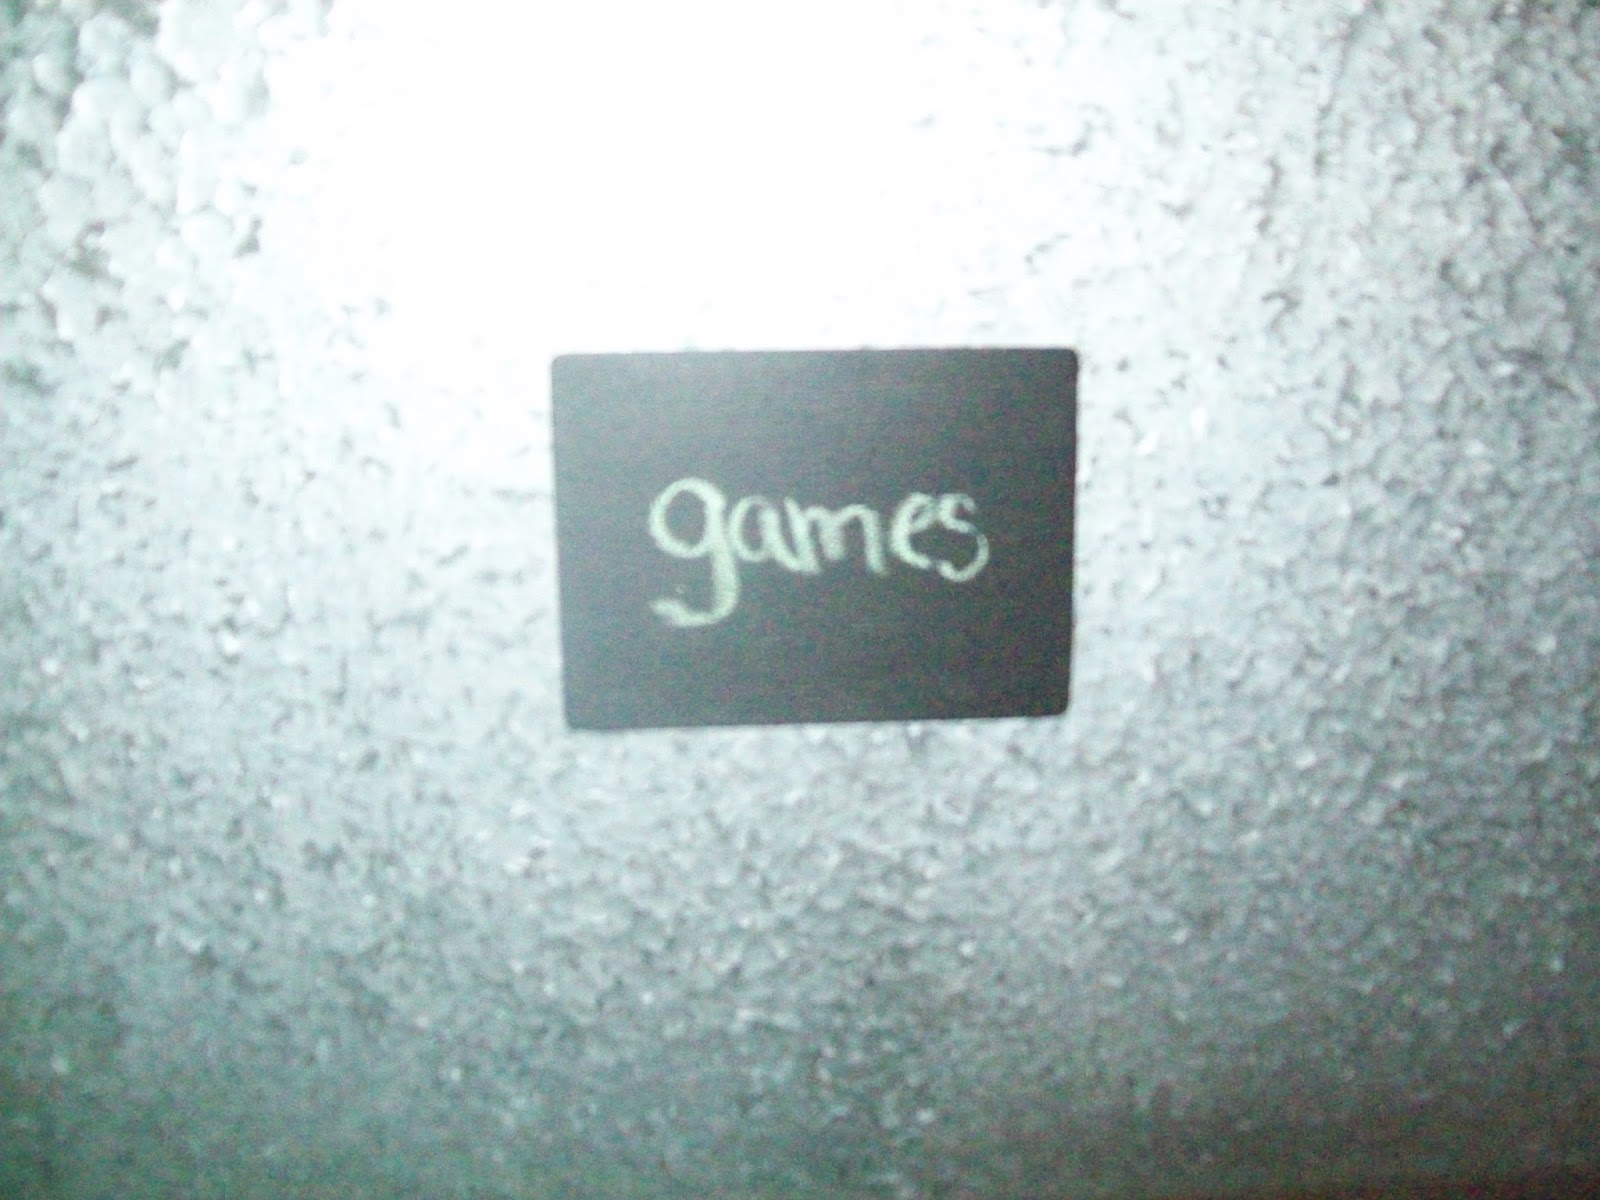
Since I was already working with the chalkboard paint, I painted a little wooden rectangle that I picked up at Hobby Lobby.
A little chalkboard paint and some chalk to write "games"
I attached it with some sticky tape to a galvanized bin that I found at Walmart in their Better Homes and Gardens collection. It holds the remotes and game cartridges for the N64 in the playroom. It keeps everything in easy reach but out of sight! I covered the bottom with grey felt to protect the nightstand.
Are you a Better Homes and Gardens fan? Where have you used your chalkboard labels?
A little chalkboard paint and some chalk to write "games"
I attached it with some sticky tape to a galvanized bin that I found at Walmart in their Better Homes and Gardens collection. It holds the remotes and game cartridges for the N64 in the playroom. It keeps everything in easy reach but out of sight! I covered the bottom with grey felt to protect the nightstand.
Are you a Better Homes and Gardens fan? Where have you used your chalkboard labels?
Monday, September 2, 2013
Chalkboard Closet Door
I wanted to make a chalkboard surface in the playroom, so I decided on the closet door. It was originally painted the same chocolate brown as the wall and so it kind of just blended in - blah. Here is the before:
And here is the after. I bought some colored chalk so the kids could let their creativity out:
It looks way better and now the kids can be little Picassos! There are so many things you can do with chalkboard paint, what have you tried?
And here is the after. I bought some colored chalk so the kids could let their creativity out:
It looks way better and now the kids can be little Picassos! There are so many things you can do with chalkboard paint, what have you tried?
Subscribe to:
Posts (Atom)